If your team often feels lost in how work actually gets done — who’s doing what, when, and how tasks connect — workflow visualization can bring order to the chaos. In this guide, we will look at workflow visualization methods, how to create a visual workflow, best practices and tools.
What Is Workflow Visualization?
Workflow visualization is simply the act of mapping out how work moves from start to finish using visual tools such as flowcharts, diagrams, and boards. It turns vague processes into clear visuals that everyone can understand at a glance. Whether it’s a product launch, employee onboarding, or a daily approval cycle, a visual workflow helps you spot bottlenecks, clarify roles, and make better decisions faster.
When you can see your workflow, you can improve it.
However, not every task needs a diagram, but certain signs show it’s time to map things out:
Your process involves multiple handoffs between teams.
People often ask, “Who’s responsible for this step?”
Deadlines slip because tasks get stuck or duplicated.
You’re onboarding new team members who need to understand “how we work.”
You want to prepare for automation or process improvement.
If any of these sound familiar, workflow visualization can help create clarity and consistency.
Best Workflow Visualization Techniques
There’s no one-size-fits-all approach to workflow visualization. Different diagrams serve different purposes. Here are some of the most common types:
1. Process and Workflow Visualization
These visualization methods focus on mapping out workflows and processes, making it easier to analyze and optimize operations:
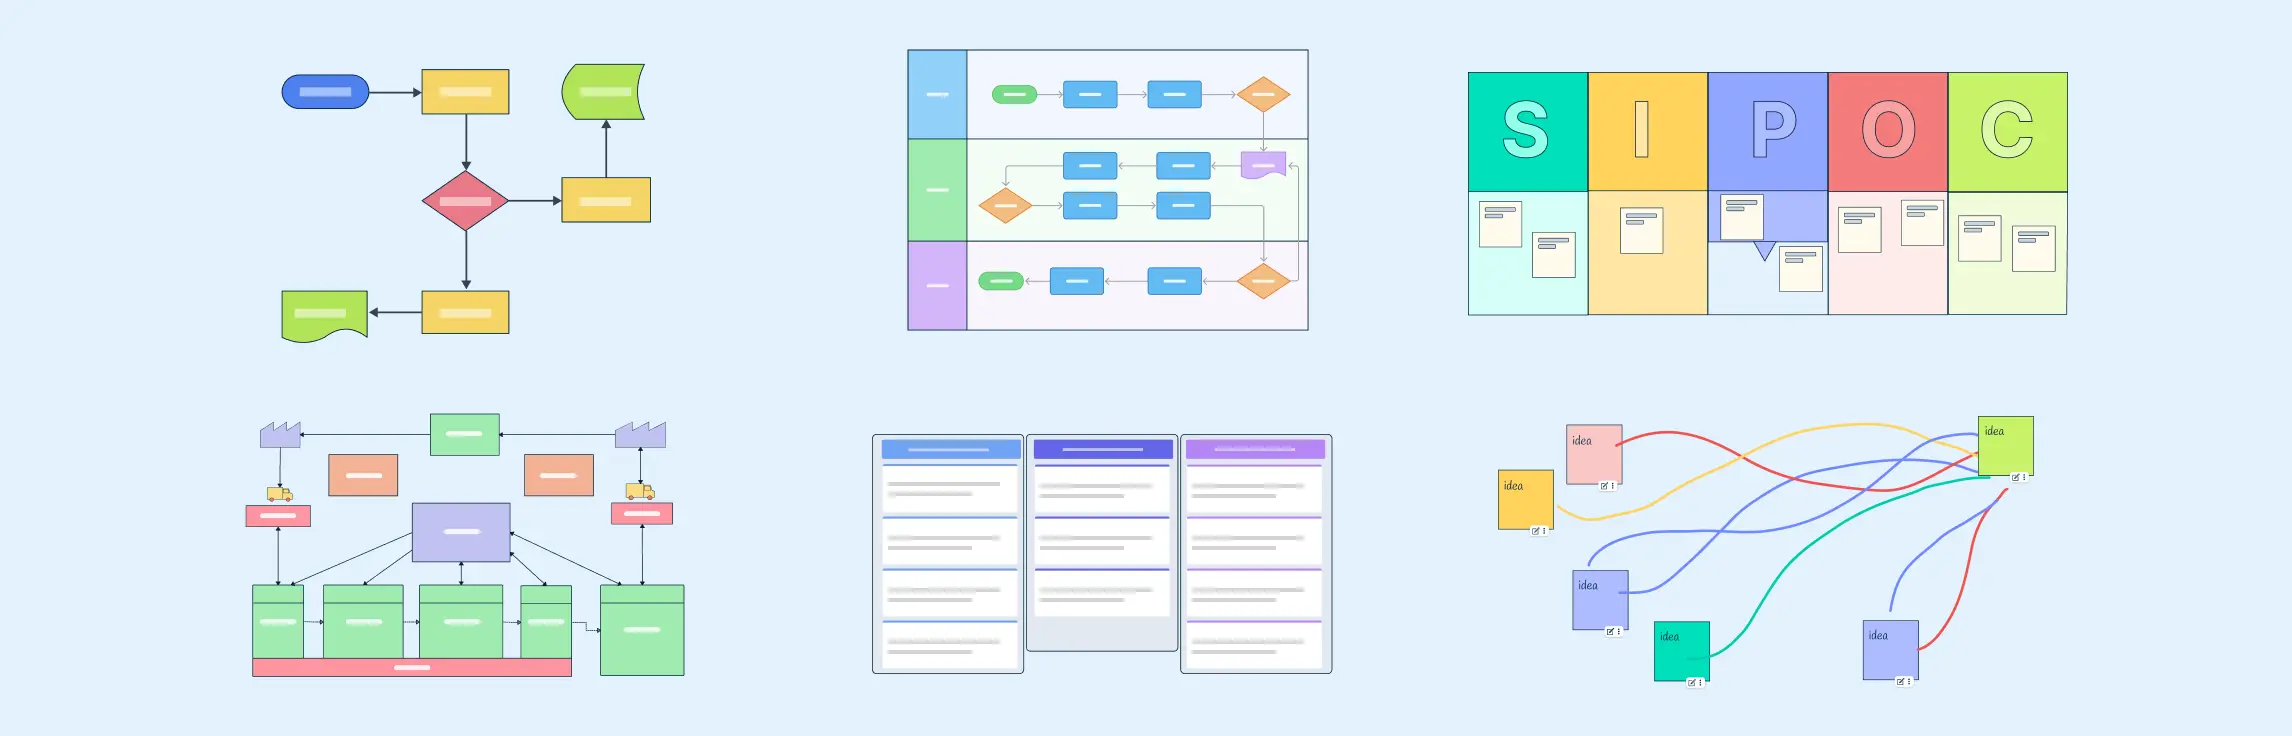
Flowcharts
Flowcharts are graphical representations of sequential steps in a process. They use arrows and boxes to depict the flow of tasks, decisions, and outcomes.
Use: Ideal for outlining workflows, identifying inefficiencies, and documenting processes.


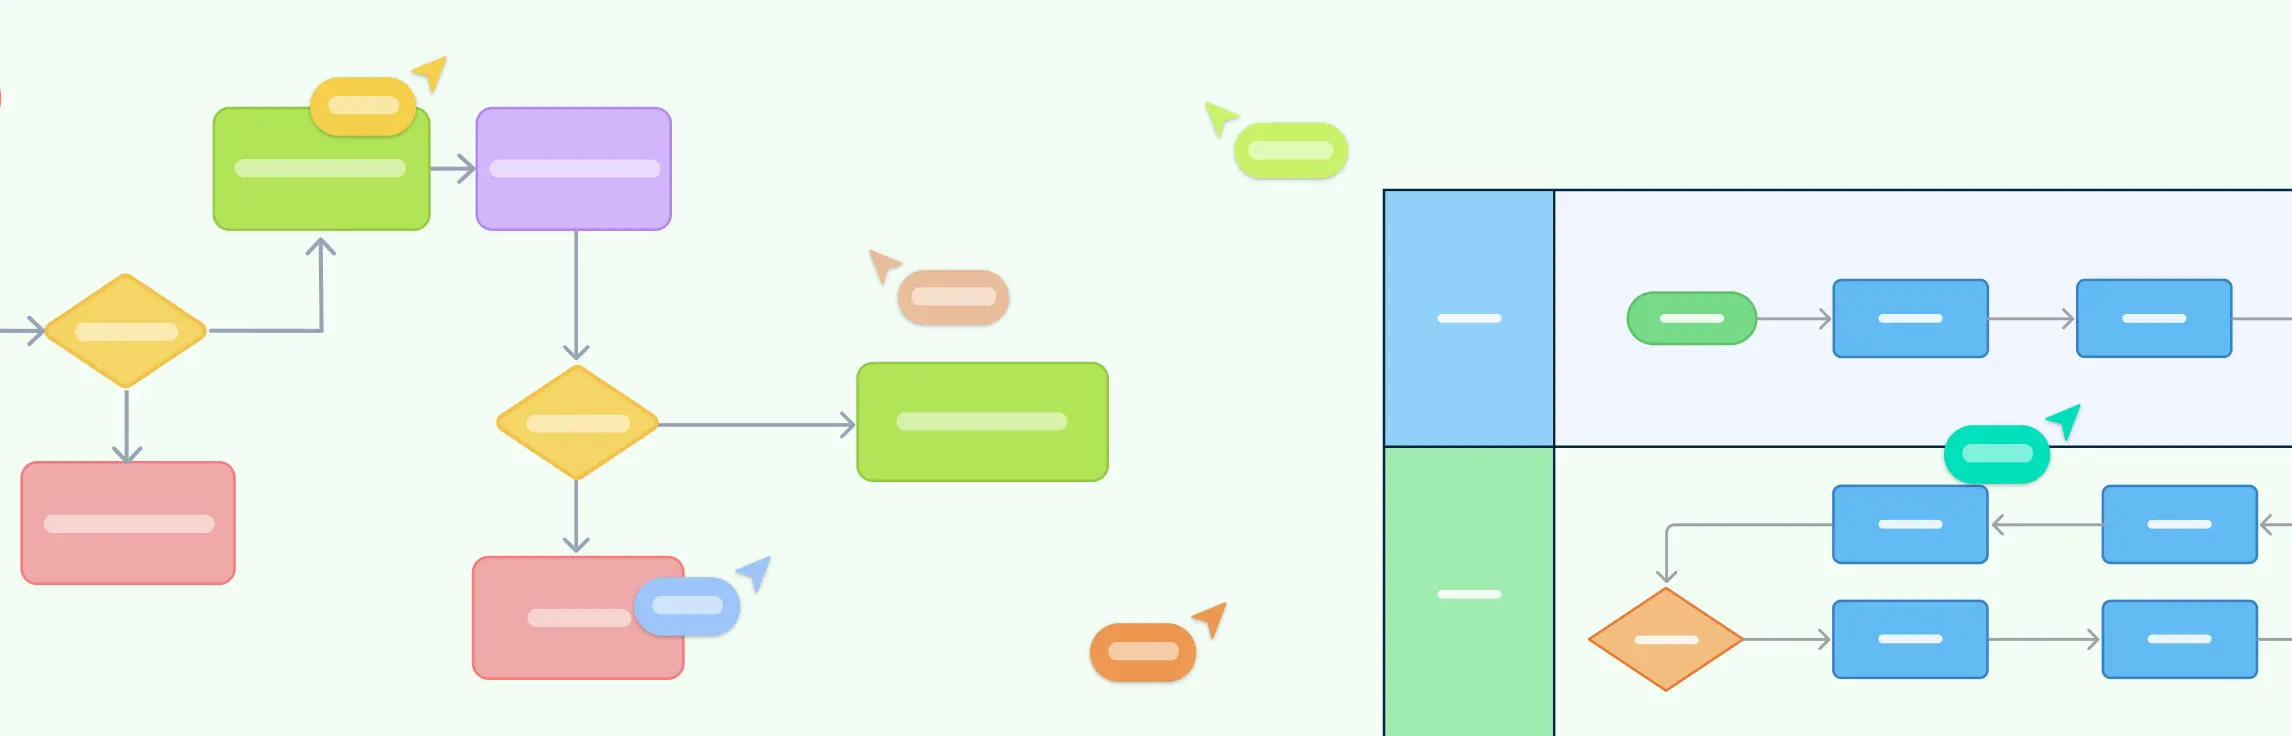
Swimlane Diagrams
A specialized type of flowchart that divides processes into distinct “swimlanes” representing roles or teams. This makes it clear who is responsible for each step in the process.
Use: Great for illustrating role-based processes or multi-team workflows.

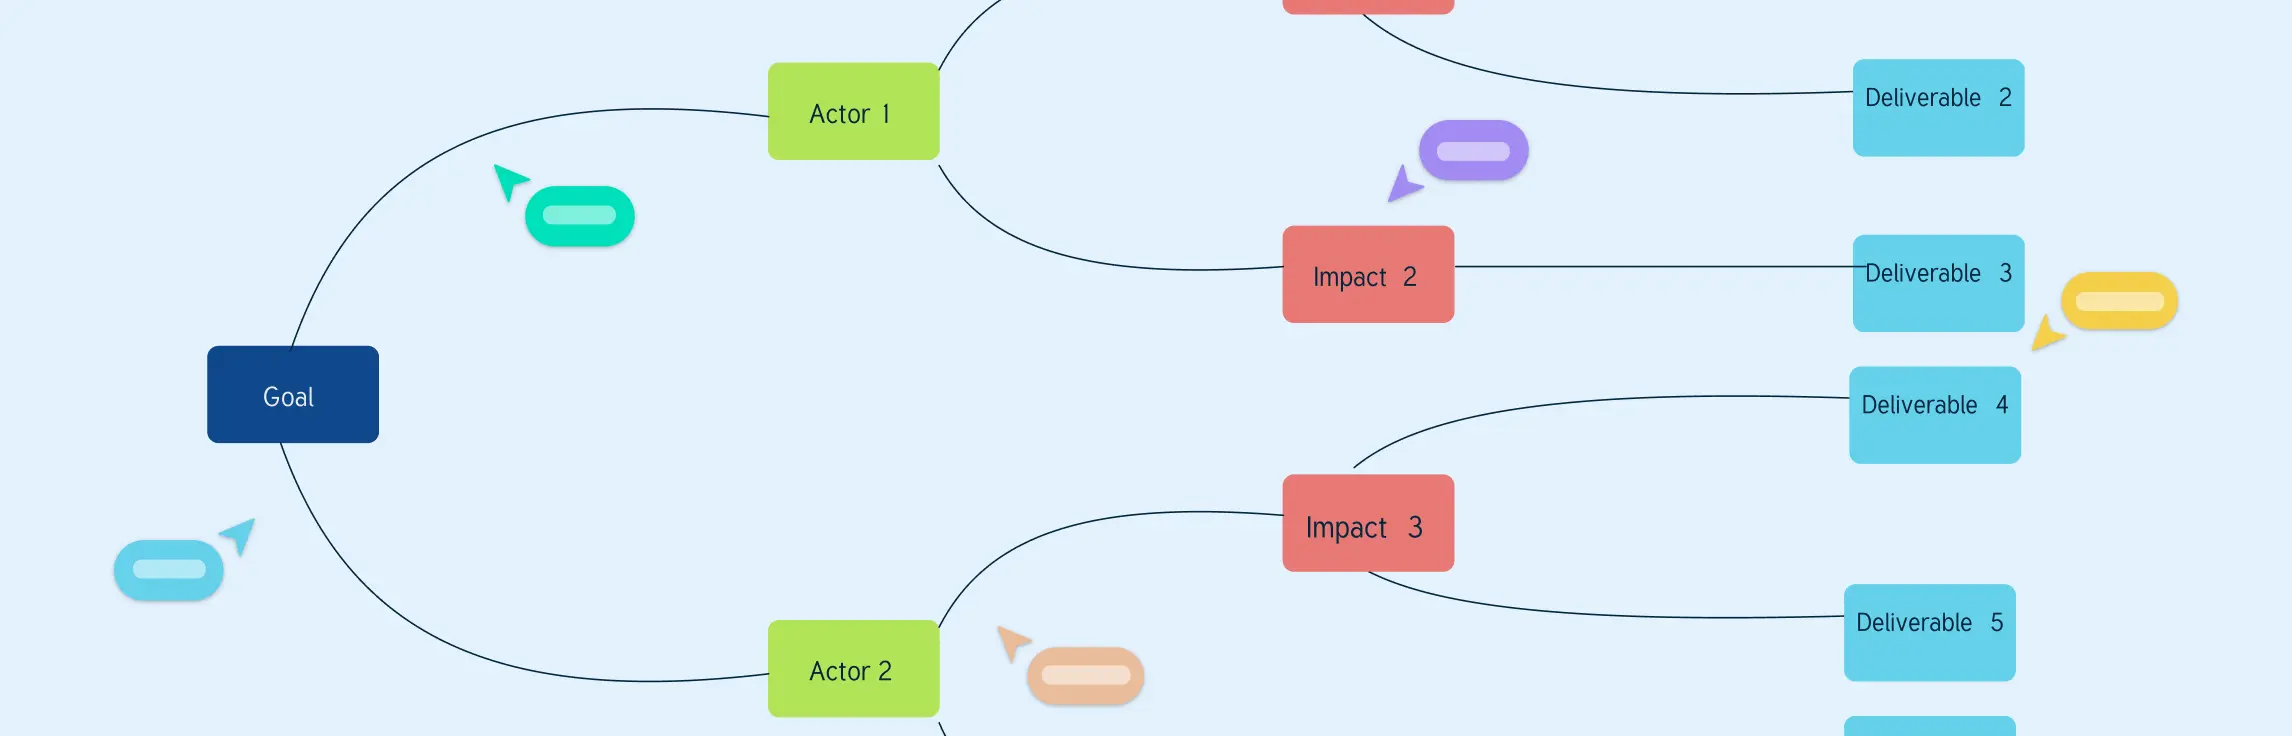
Workflow Diagrams
Workflow diagrams are detailed visual maps of steps within a workflow, often including decision points and dependencies.
Use: Used to optimize processes and highlight potential bottlenecks or inefficiencies.

2. Project Management Visualization
These techniques are designed to assist in organizing, scheduling, and tracking project progress:
Gantt Charts
Gantt charts are time-based visual tools that display project tasks, their durations, and dependencies. Bars represent tasks, and timelines illustrate when each task starts and ends.
Use: Perfect for project scheduling, monitoring progress, and ensuring deadlines are met.

Kanban Boards
Kanban boards visually represent tasks in columns, usually categorized as “To Do,” “In Progress,” and “Completed.” This system helps teams track the status of tasks in real-time.
Use: Widely used for agile project management and task prioritization.

How to Visualize Workflows
You don’t need to be a designer to create an effective workflow visualization. The key is following a structured approach that helps you capture how work really happens and present it clearly. You can start with pen and paper, but digital tools like Creately make it easier to map, collaborate, and refine your workflows in real time.
Step 1. Define your scope and goals
Start by deciding exactly what you want to visualize. Are you mapping the entire customer onboarding process, or just how leads are handed off between marketing and sales?
Clarify the goal behind creating the workflow:
Do you want to document it for training or compliance?
Are you trying to identify bottlenecks or inefficiencies?
Or are you preparing it for automation later?
Having a clear purpose helps you decide what level of detail to include and which workflow visualization format suits you best.
Creately tip: Use Creately’s AI-powered workflow diagram template to quickly define your workflow scope. Just describe the process in plain language, and Creately AI will generate an editable draft diagram for you to refine.

Step 2. Gather the right people
A workflow is only as accurate as the input behind it. Bring together everyone who’s involved in the process — team members who perform the work, managers who oversee it, and anyone impacted by its outcomes.
Use interviews or short workshops to walk through the current process together. Encourage participants to share what actually happens day-to-day, not just what’s written in documentation.
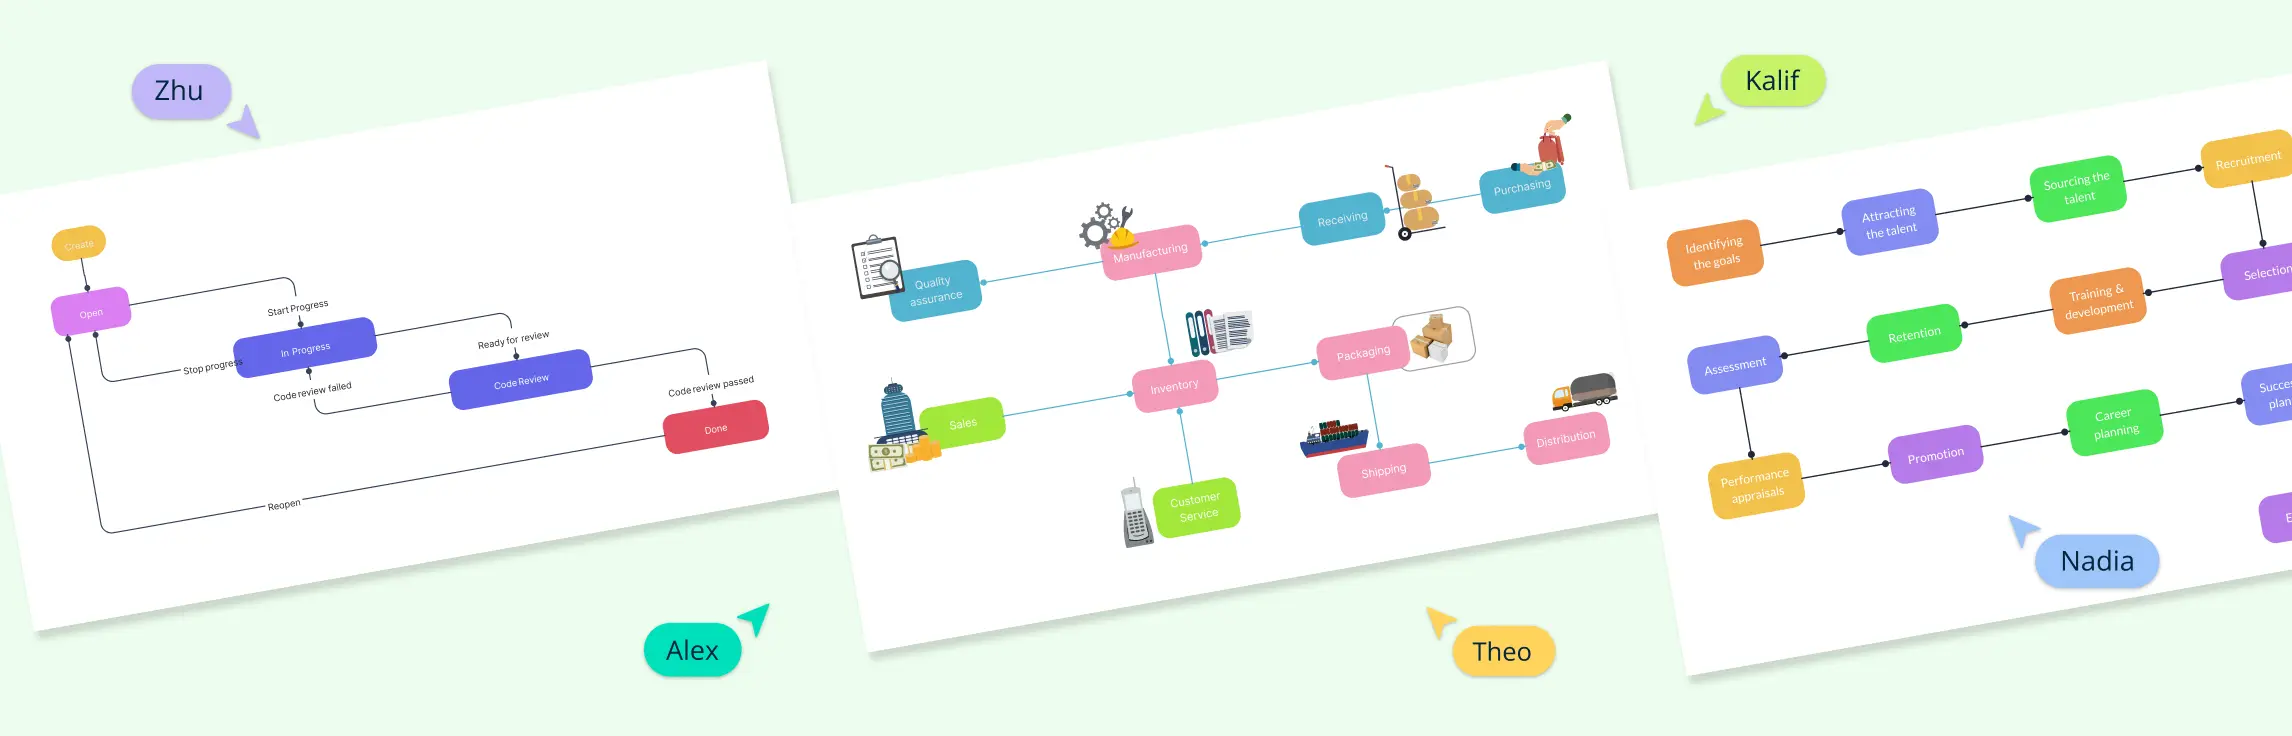
Creately tip: Collaborate in real time by inviting stakeholders to your diagram. Everyone can comment, react, and make edits together in one shared workspace, making it easier to align on how work flows.
Step 3. Break work into steps
Next, outline every step involved from start to finish. Include:
Tasks – the actions performed (e.g., “Submit request,” “Review proposal”)
Decision points – yes/no or conditional paths (e.g., “Approved?”)
Inputs and outputs – documents, approvals, or data exchanged
Dependencies – what needs to happen before the next step
It’s okay if it feels messy at first. Start with a simple list or sticky-note layout. Once you have all the steps, you can group or rearrange them to reflect the real flow of work.
Creately tip: In Creately, you can drag and drop shapes or convert sticky notes into flowchart elements automatically with Creately AI. This saves time and keeps your structure consistent.
Step 4. Choose your diagram type
Different workflows call for different visualization methods.
Flowchart: Best for simple, linear processes with clear start and end points.
Swimlane diagram: Ideal for multi-team or cross-functional processes, showing who owns each step.
Process map: Great for analyzing inefficiencies or improving performance.
Kanban board: Works well for visualizing work in progress or agile workflows.
Choose one that fits your purpose and audience. For example, if you’re mapping a marketing campaign that involves multiple teams, a swimlane diagram helps make responsibilities and handoffs clear.
Creately tip: Creately supports all major workflow visualization types — from basic flowcharts and swimlanes to Kanban boards and BPMN diagrams — with ready-made templates and shape libraries. You can switch between diagram types or layer multiple views in the same workspace.
Step 5. Add roles and responsibilities
Once you’ve mapped the main steps, assign ownership. Each task should have a clear person or team responsible for completing it.
In a swimlane diagram, this is done by organizing tasks into lanes labeled by role or department — like Marketing, Finance, or HR. It’s one of the simplest ways to visualize accountability and prevent confusion about who does what.
Creately tip: Use Creately’s integrated shape data fields or notes to label roles, or the quick access toolbar above each shape to color-code departments, or add reactions for faster feedback during collaboration sessions.
Step 6. Make it visual
Now it’s time to design your workflow so it’s easy to understand at a glance.
Use arrows or connectors to show the direction of flow.
Label decision points clearly (e.g., “Yes” / “No”).
Apply colors to differentiate teams, stages, or status.
Keep it uncluttered — too much detail can make it harder to read.
If your workflow includes metrics like timelines or task status, you can annotate these directly in your diagram or attach notes and data points.
Creately tip: You can customize your workflow visuals with color themes, icons, and notes, or attach supporting documents and links to each step. Presentation mode lets you walk your team through the process in meetings without switching between apps.
Step 7. Review and refine
Finally, share your workflow visualization with your team to validate it. Walk through each step together and ask:
Does this match how the process works in reality?
Where do we see bottlenecks or delays?
Which steps could be automated or simplified?
Gather feedback and make revisions until everyone agrees the workflow is accurate and efficient.
Creately tip: Use Creately’s version history to track updates as you refine your workflow. You can also use comments and task assignments directly on the diagram to document changes and next actions.
Examples of Workflow Visualization
Workflow visualization involves mapping processes into clear, visual representations to ensure smooth coordination, identify inefficiencies, and improve overall productivity. Below are detailed examples across various domains:
1. Employee Onboarding Process
A clear visual map of onboarding ensures a seamless transition for new hires.
- Job offer acceptance and documentation.
- IT setup, including email and tools.
- Orientation sessions and HR policy briefings.
2. Customer Support Workflow
A flowchart of support processes aids in managing and resolving customer issues effectively.
- Ticket submission by the customer.
- Automatic categorization and assignment to agents.
- Escalation for unresolved issues and resolution tracking.
3. Marketing Campaign Planning
Visualizing campaign workflows helps teams coordinate and execute marketing strategies efficiently.
- Ideation and brainstorming sessions.
- Content creation and asset development.
- Campaign launch, tracking, and reporting.
4. Order Fulfillment Process
Visual tools ensure a smooth flow from order placement to delivery.
- Processing customer orders.
- Checking inventory and managing stock levels.
- Packaging, shipping, and delivery to the customer.
5. Product Development Cycle
Mapping out product workflows ensures every phase is completed systematically.
- Market research and idea validation.
- Prototyping, testing, and iterations.
- Final production and market launch.
6. Event Planning Workflow
Diagramming event workflows streamlines planning for successful execution.
- Venue selection and booking.
- Managing guest lists and invitations.
- Promotions, logistics, and follow-ups.
This streamlined approach keeps workflows structured and actionable.
Key Benefits of Workflow Visualization
Workflow visualization turns complex processes into simple visuals that boost clarity, efficiency, and collaboration across teams.
Clarity: Breaks down complex tasks into easy-to-understand steps, reducing confusion and miscommunication.
Efficiency: Reveals bottlenecks and inefficiencies, helping teams make faster, smarter improvements.
Alignment: Ensures everyone—from leadership to front-line staff—shares the same understanding of goals and processes.
Proactive problem-solving: Makes it easier to spot risks early and prevent issues before they slow down work.
Collaboration: Provides a shared visual reference that streamlines teamwork and keeps everyone on the same page.
Workflow Visualization Best Practices
To make your workflow diagrams effective and actionable, follow these best practices:
Keep it simple: Focus on key steps, decisions, and handoffs. Avoid overloading the diagram with minor details that can confuse viewers.
Define clear start and end points: This helps everyone understand the process boundaries and where responsibilities begin and end.
Use consistent symbols and colors: Standardized shapes and color-coding make workflows easier to read, especially for cross-team processes.
Show roles and responsibilities: Assign tasks to specific teams or individuals. In swimlane diagrams, lanes clearly indicate ownership, reducing confusion.
Highlight decision points: Make approvals, yes/no paths, or conditional steps stand out to prevent errors and delays.
Collaborate and validate: Involve the people who actually perform the process. Reviewing workflows with stakeholders ensures accuracy and builds team alignment.
Update regularly: Workflows evolve over time. Regularly revising diagrams keeps them relevant and ensures continuous improvement.
Leverage workflow visualization tools: Tools like Creately help streamline the process. You can use templates for flowcharts, swimlanes, Kanban boards, and BPMN diagrams, collaborate in real time, maintain version history, and present workflows clearly to teams.
Resources:
The Digital Project Manager, 2024. Workflow Visualization: Benefits, Examples, & Steps. [online] Available at: https://thedigitalprojectmanager.com/projects/pm-methodology/workflow-visualization/
Nintex, 2024. What is Workflow Visualization?. [online] Available at: https://www.nintex.com/learn/workflow-automation/what-is-workflow-visualization/
Workflow Visualization FAQs
What are the elements of workflow visualization?
What is workflow visualization?
Why is workflow visualization important?
How do I choose the right workflow visualization tool?
How does workflow visualization improve decision-making?
What is the difference between workflow visualization and process mapping?