Creating a customer journey map helps you see your business through your customers’ eyes. It uncovers pain points, highlights opportunities, and shows exactly where improvements can make the biggest impact.
This guide focuses on the practical steps to build a journey map, giving you a clear, actionable approach to visualize and enhance the entire customer experience.
Customer Journey Mapping Steps
Step 1: Define your goal and scope
Before visualizing the customer journey, it’s important to be clear about why you’re mapping the experience. Are you trying to improve onboarding, reduce churn, or optimize a specific part of the customer journey? Knowing the purpose will keep your map focused and actionable.
Next, decide which customer segment or persona the map will represent. Different personas may have different needs, behaviors, and pain points, so focusing on one segment at a time ensures your map is meaningful and relevant.
Creately tip: Start with a persona template in Creately to define your target customer. You can then link that persona directly to the journey map, making it easy to visualize the experience for a specific audience.
Step 2. Research and gather data
The next step is to gather insights about your customers’ real experiences. Collect qualitative data like surveys, interviews, and feedback to understand thoughts, feelings, and motivations. Combine this with quantitative data such as website analytics, purchase history, or support tickets to see patterns in behavior.
Creately tip: Use Creately’s collaborative whiteboard to consolidate your research. Add sticky notes, comments, or upload documents directly onto your map so your team can contribute insights in one shared space, making data collection and collaboration seamless.
Step 3: Identify customer touchpoints and channels
Now, list all the ways customers interact with your brand. This includes online touchpoints like your website, social media, and email campaigns, as well as offline interactions like in-store visits, phone calls, or events.
Once you’ve identified these touchpoints, map which channels are involved at each stage of the journey. Understanding where and how customers engage helps reveal gaps, overlaps, or opportunities to create a more seamless experience.
Creately tip: Use Creately’s drag-and-drop shapes and connectors to visually represent each touchpoint and channel. You can color-code or group them by type (online vs offline) for clarity, making it easy to see how channels intersect across the customer journey.
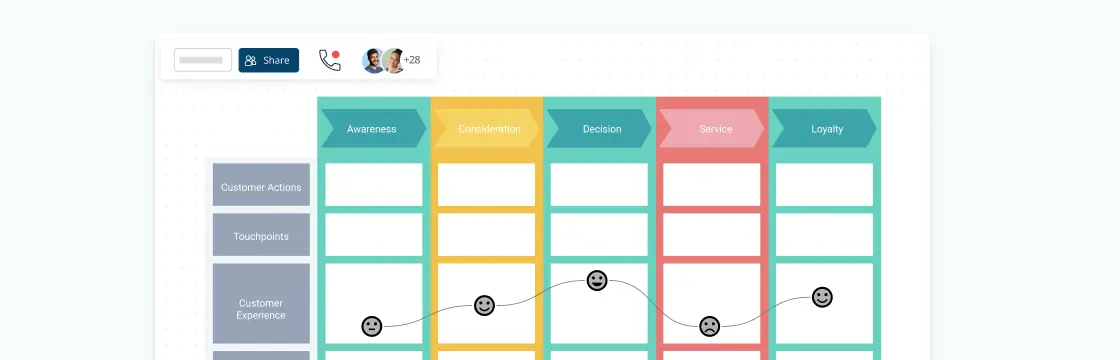
Step 4: Map the customer journey stages
Next, organize your touchpoints into the key stages of the customer journey, such as awareness, consideration, purchase, retention, and advocacy. This helps you see how customers move through each phase and where they might encounter challenges.
At each stage, capture not just the actions, but also customer thoughts, emotions, and potential pain points. Understanding how customers feel and think at every step highlights opportunities to improve their experience and create a smoother journey.
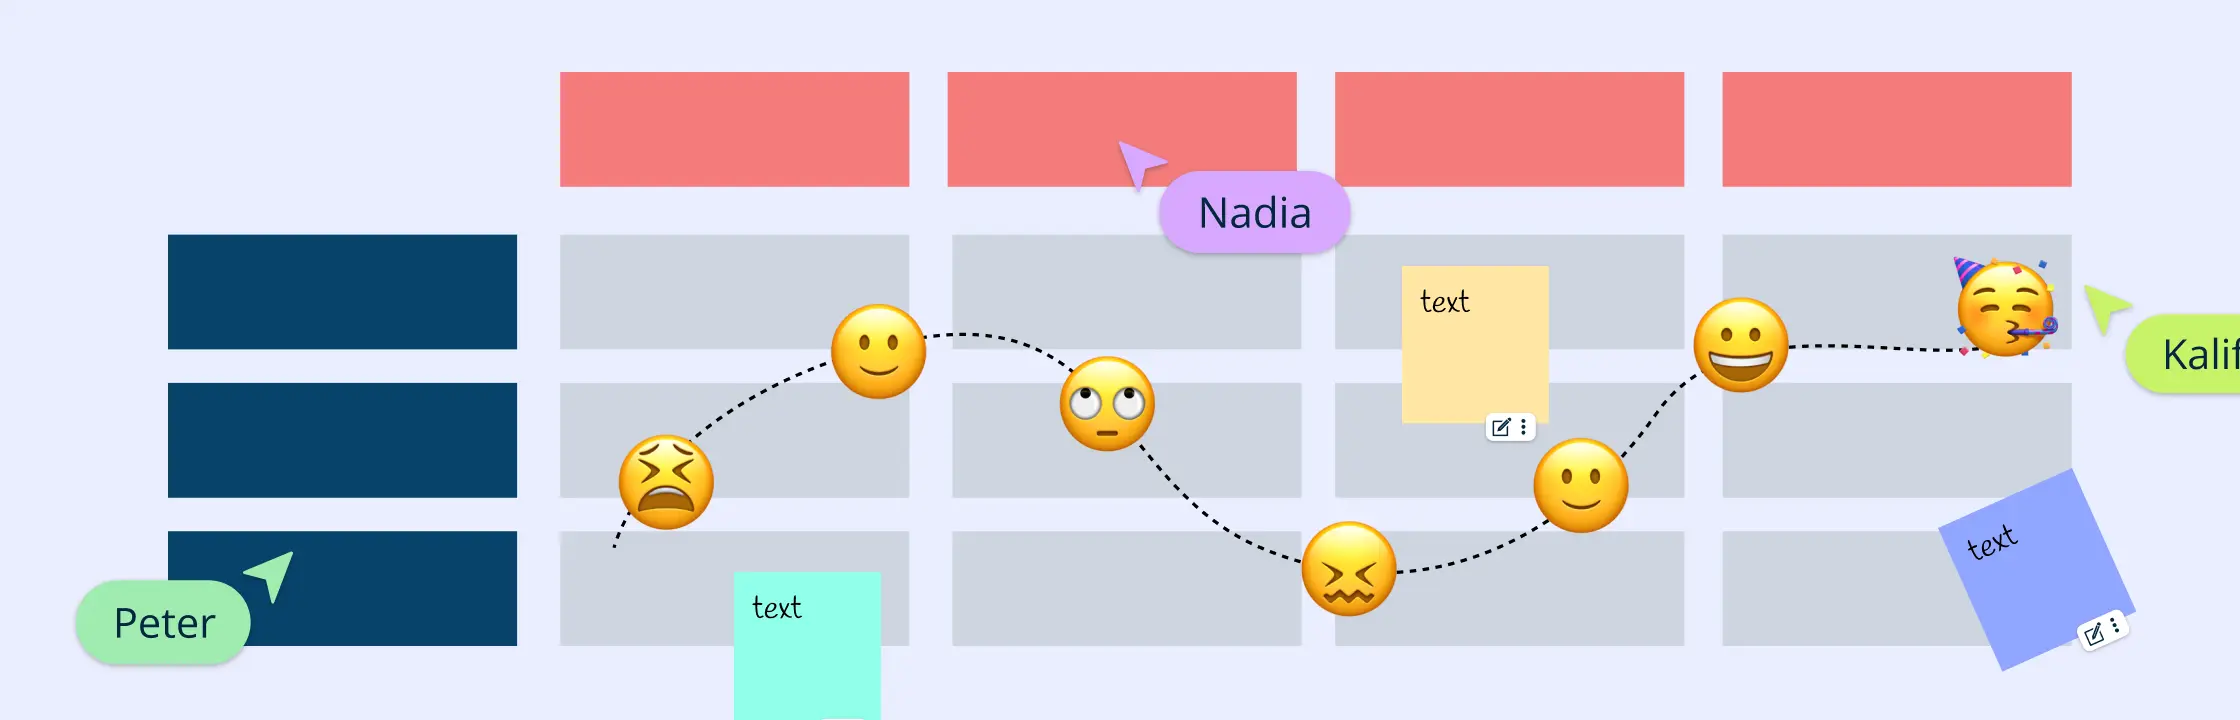
Creately tip: Use Creately’s journey mapping shapes and flowchart elements to label each stage clearly. You can also add icons or emojis to represent customer emotions, making the map visually intuitive and easy for teams to understand at a glance.
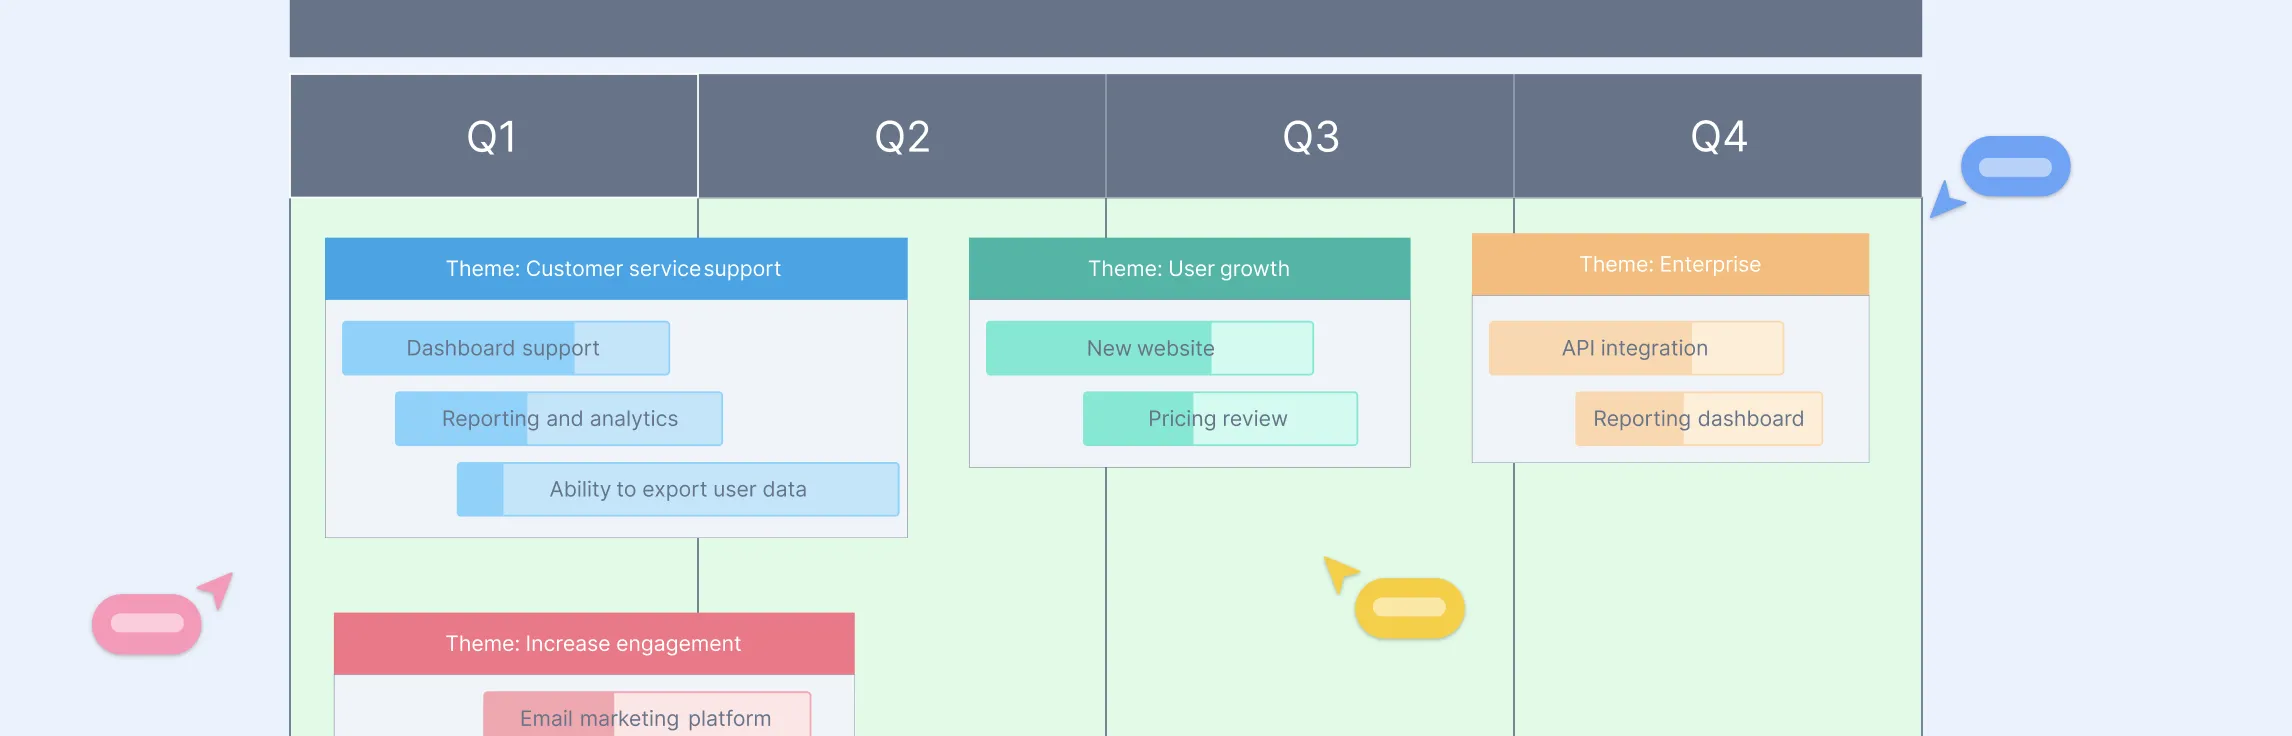
Step 5: Visualize the journey
After mapping stages and touchpoints, it’s time to turn your insights into a clear visual map. Choose a layout that works best for your team — horizontal, vertical, or swimlane-style — and arrange the stages, touchpoints, emotions, and pain points in a logical flow. The goal is to make the journey easy to understand at a glance.
A well-designed visualization helps teams quickly spot gaps, overlaps, and opportunities, and makes collaboration across departments much easier.
Creately tip: Use Creately’s swimlane shapes to organize stages and channels neatly. You can also add integrated notes directly on touchpoints or lanes to provide context, highlight customer emotions, or capture ideas for improvement — all without cluttering the main visual.
Step 6: Identify gaps, pain points, and opportunities
Once your journey is visualized, analyze it to find areas where customers may face friction, confusion, or delays. Look for missing steps, redundant actions, or points where customers might drop off. Identifying these gaps helps you uncover opportunities to improve the overall experience.
Creately tip: Use sticky notes or comments to flag pain points and opportunities directly on the map. Add emojis to represent emotions or urgency, making it easy for your team to quickly understand critical insights and prioritize improvements.
Step 7: Validate and refine
Once your draft map is ready, share it with stakeholders to gather feedback. Incorporate real customer insights and team input to make the map as accurate and actionable as possible. Remember, a journey map is dynamic — revisit and update it regularly as processes, touchpoints, or customer behavior change.
Creately tip: Use Creately’s collaboration features to invite stakeholders directly to the map. They can leave comments, suggestions, or highlight areas that need adjustment. You can also use presentation mode to walk your team through the journey map step by step, making it easy to discuss insights and capture feedback in real time.
Read-to-Use Templates to Get Started
Now that you know how to create a customer journey map, here are some templates to help you get started on making your own.
Ready-to-Use Customer Journey Map Template


Blank Customer Journey Map Template

Sample Customer Journey Map

Digital Customer Journey Map

Customer Journey Map

Tips and Best Practices for Effective Customer Journey Mapping
Keep maps customer-focused: Always map the journey from the customer’s perspective, not internal processes.
Avoid clutter: Focus on key touchpoints, emotions, and insights that truly impact the experience.
Involve cross-functional teams: Engage marketing, sales, support, and product teams to get diverse perspectives and uncover hidden pain points.
Use real data: Base your map on actual customer research, analytics, and feedback rather than assumptions.
Highlight emotions clearly: Include customer feelings at each stage to understand their experience and prioritize improvements.
Focus on actionable insights: Every point on the map should inform a potential change or improvement.
Keep it dynamic: Update the map regularly as customer behavior, channels, or business processes evolve.
Tell a story: Make the map easy to follow like a narrative — this helps teams understand the journey at a glance.
FAQs About Creating Customer Journey Maps
Who should be involved in creating a customer journey map?
Can journey maps be used for multiple customer personas?
How do I make sure my journey map leads to action?
What are common mistakes to avoid when creating a journey map?
Should I include emotions and pain points?